
The latest ‘rona lockdown has got the kids feeling a bit more cooped up than usual. I only wish that they would harness all their energy into more productive means……..
Author: lousysmarch
A Special Christmas Recipe
Merry Christmas to all our pizza friends and family!
And a special thanks to M. Comeau for the truffle recipe. They are delicious!
Embracing Emmer: Ancient Grains Revived for the 21st Century
Disclaimer: This is the longest post I have ever made.
In general, I am fascinated with the history of agriculture and horticulture, and heritage and ancient varieties of food. Over the past decade, there have been an increasing number of stories making rounds within online media channels about people reviving seeds and growing them into plants of wild proportion, taste, colour, and yield. While some of these accounts may be exaggerations (or outright false), the idea of this seed resurrection is enticing and evokes the imagination of countless historians, biologists, agriculturalists, botanists, and enthusiasts alike. Out of these common interests is born a seed revivalist movement, who commonly endeavour to genetically manipulate ancient seeds found at some sites of archaeological importance in order to revive these historical remnants. I recently discovered one such movement, a farming business in British Columbia (Fieldstone Organics) who specialize in ancient and heritage grain farming and production.
What started off as a History project turned into a months long trial and error process to see if I could recreate as authentically as possible, an ancient Sumerian beer recipe. How ancient? Very. Like, ~5-7000 years old. In doing some preliminary research, I found out that no one really knows what type of grains were around with this ancient culture, but there are a few guesses. See below a grain variety called Emmer, one of a few top candidates for the beer grain of choice. Lucky for me, I found this little company in BC and was able to buy a bag.
The road from grain to beer involved overcoming a steep learning curve. Normally, I am a self-proclaimed ‘foodie’ (who knew…) but making my own beer trumps any food project I have ever undertaken before. I had the basic process that I knew needed to be followed: buy grains; sprout grains; mill grains; boil grains; ferment grains; drink beer. Executing these required much trial and error since I had no prior experience upon which to intuitively rely. Another factor that may or may not have worked in my favour was that (some scholars believe that) Sumerians brewed beer for near-immediate consumption, which probably had less to do with intentional design as it did a necessity born out of the inability for beer to keep for very long.
At the beginning of November, I set out to sprout my grains. This was surprisingly easy. I first soaked the dried grains for 24 hours in a bowl with plenty of water. Then the next day I drained the excess water, and spread the wet grains on an aluminum baking dish. I placed this on my electric heating pad, covered the whole contraption with a tea towel and left the heat on medium for about 3-4 days. I only lifted the tea towel occasionally to rotate the grains in the dish, and to mist them lightly with water.
Like magic, after some 4 days sprouts emerged in droves from each grain. If I wanted to, I could have sowed these sprouted grains right into the ground, and began my own field of Emmer right here in Bedford. Who knows…I still may.
With my spouted grains I would next turn to slowly drying my spouts in an effort to recreate a kilning process. I heated my oven to 200°F, then promptly shut it off. I placed my sprouts thinly across two aluminum baking sheets and placed them in the warm oven, leaving the door slightly ajar to ensure that the temperature wasn’t too hot. I left them in there for several hours until they were completely dried out. With my dried grains I could now turn up the oven heat and toast them in the hopes of getting some more complex tasting notes that could be realised from the caramelization process that baking could offer. Once toasted, I could now turn my efforts to the grain grinding process.
With the invention of the grist mill thousands of years away, I am sure the ancient Sumerians hated this part almost as much as I did. I had hoped that the soaking, drying out, and then toasting of the grain sprouts would make their impenetrable husks easy to squish. This hubris would see me smashing grain for days, alternating between using a wooden rolling pin on the kitchen counter, to grinding much smaller quantities in my mortar and pestle. Both methods proved very time consuming, albeit a good forearm workout. In the end though, I managed to make what I believe to be a respectable amount of ground Emmer -somewhere in the neighbourhood of 450g. I would only need to use about half of this for my mini pot of beer, but I erred on the side of caution and doubled my grinds, just in case I messed something up and had to start over.
Without much foreknowledge concerning beer making, I turned to several resources in order to get the general idea for the necessary steps to take throughout this project. I consulted a number of publications and archaeological resources, but the most useful resource I encountered was through consultation with an employee/brewing expert at my local wine and beer homebrew shop. They recommended to me that I use a grain sock to hold my milled Emmer, as well as pointed me in the direction of which type of yeast to use. We selected an easy-to-use, robust, high yield yeast that is ideal for first timers. Perfect! The grain sock proved to be an indispensable item, as I was able to keep the Emmer from sinking in the pot, which would have likely resulted in it burning and sticking to the bottom of the pot of water.


After vigorous sterilisation of my pot and a simple spoon, I added the grain to the sock, and began the boiling process using ~8L of water. I let the pot boil on the stove for almost two hours and I estimate that I lost about 2 litres of water to the boiling. I occasionally poked the grain sock to see some of the Emmer better infuse with the water.
When I was ready to stop the boiling process, I filled the kitchen sink with cool water and placed the entire pot in its cold bath, keen on lowering the heat enough so that I could add my yeast. According to its specific package directions, this yeast is activated between 30-40°C, and this is the only time throughout the whole brewing process that I used any sort of ‘modern’ technology by way of a cooking thermometer, as I felt that not observing this critical step would leave me with Emmer tea instead of Emmer beer. As well, at the same time as adding the yeast I also pitched in to the pot a ¼ cup of bee honey. There is varied historical records that mention the ancient Sumerians possibly infusing different aromatics or sweeteners in their beer and wine, with the Hymn to Ninkasi specifically mentioning honey (but which type of honey is open to debate).[1] I used what I had available, figuring that it would if nothing else help the yeast propagate with the additional sugar.
I opted for vigorous whisking instead for my aeration, doing this intermittently for 2 or 3 hours. When not being stirred, the beer stayed covered with the lid and sat on the stovetop. Along this process, there have been several times where I had to interpret the historical records in order to come up with a modified brewing plan. This would come to a head when I needed to decide how to ferment the beer and kill the yeast. Without knowing the alcohol content, I couldn’t really pick a right time to do this. I am also inclined to infer that the ancient Sumerians likely lacked the ability to vacuum seal their beer vats. This could have been done to some extent if clay was pressed around the openings of their earthenware. At this point I decided to divide my beer between two vessels: the original cooking pot, and a large bowl Tupperware. This way, I could observe the changes between the two. I left each beer divide for two days covered and undisturbed. After two days, it was obvious that the Tupperware version had resisted continued yeast growth, where the brew pot had obvious yeast (and other) growth on its surface. I had to assume at this point that the Tupperware beer, with its mostly sealed environment, had successfully stopped the yeast growth.
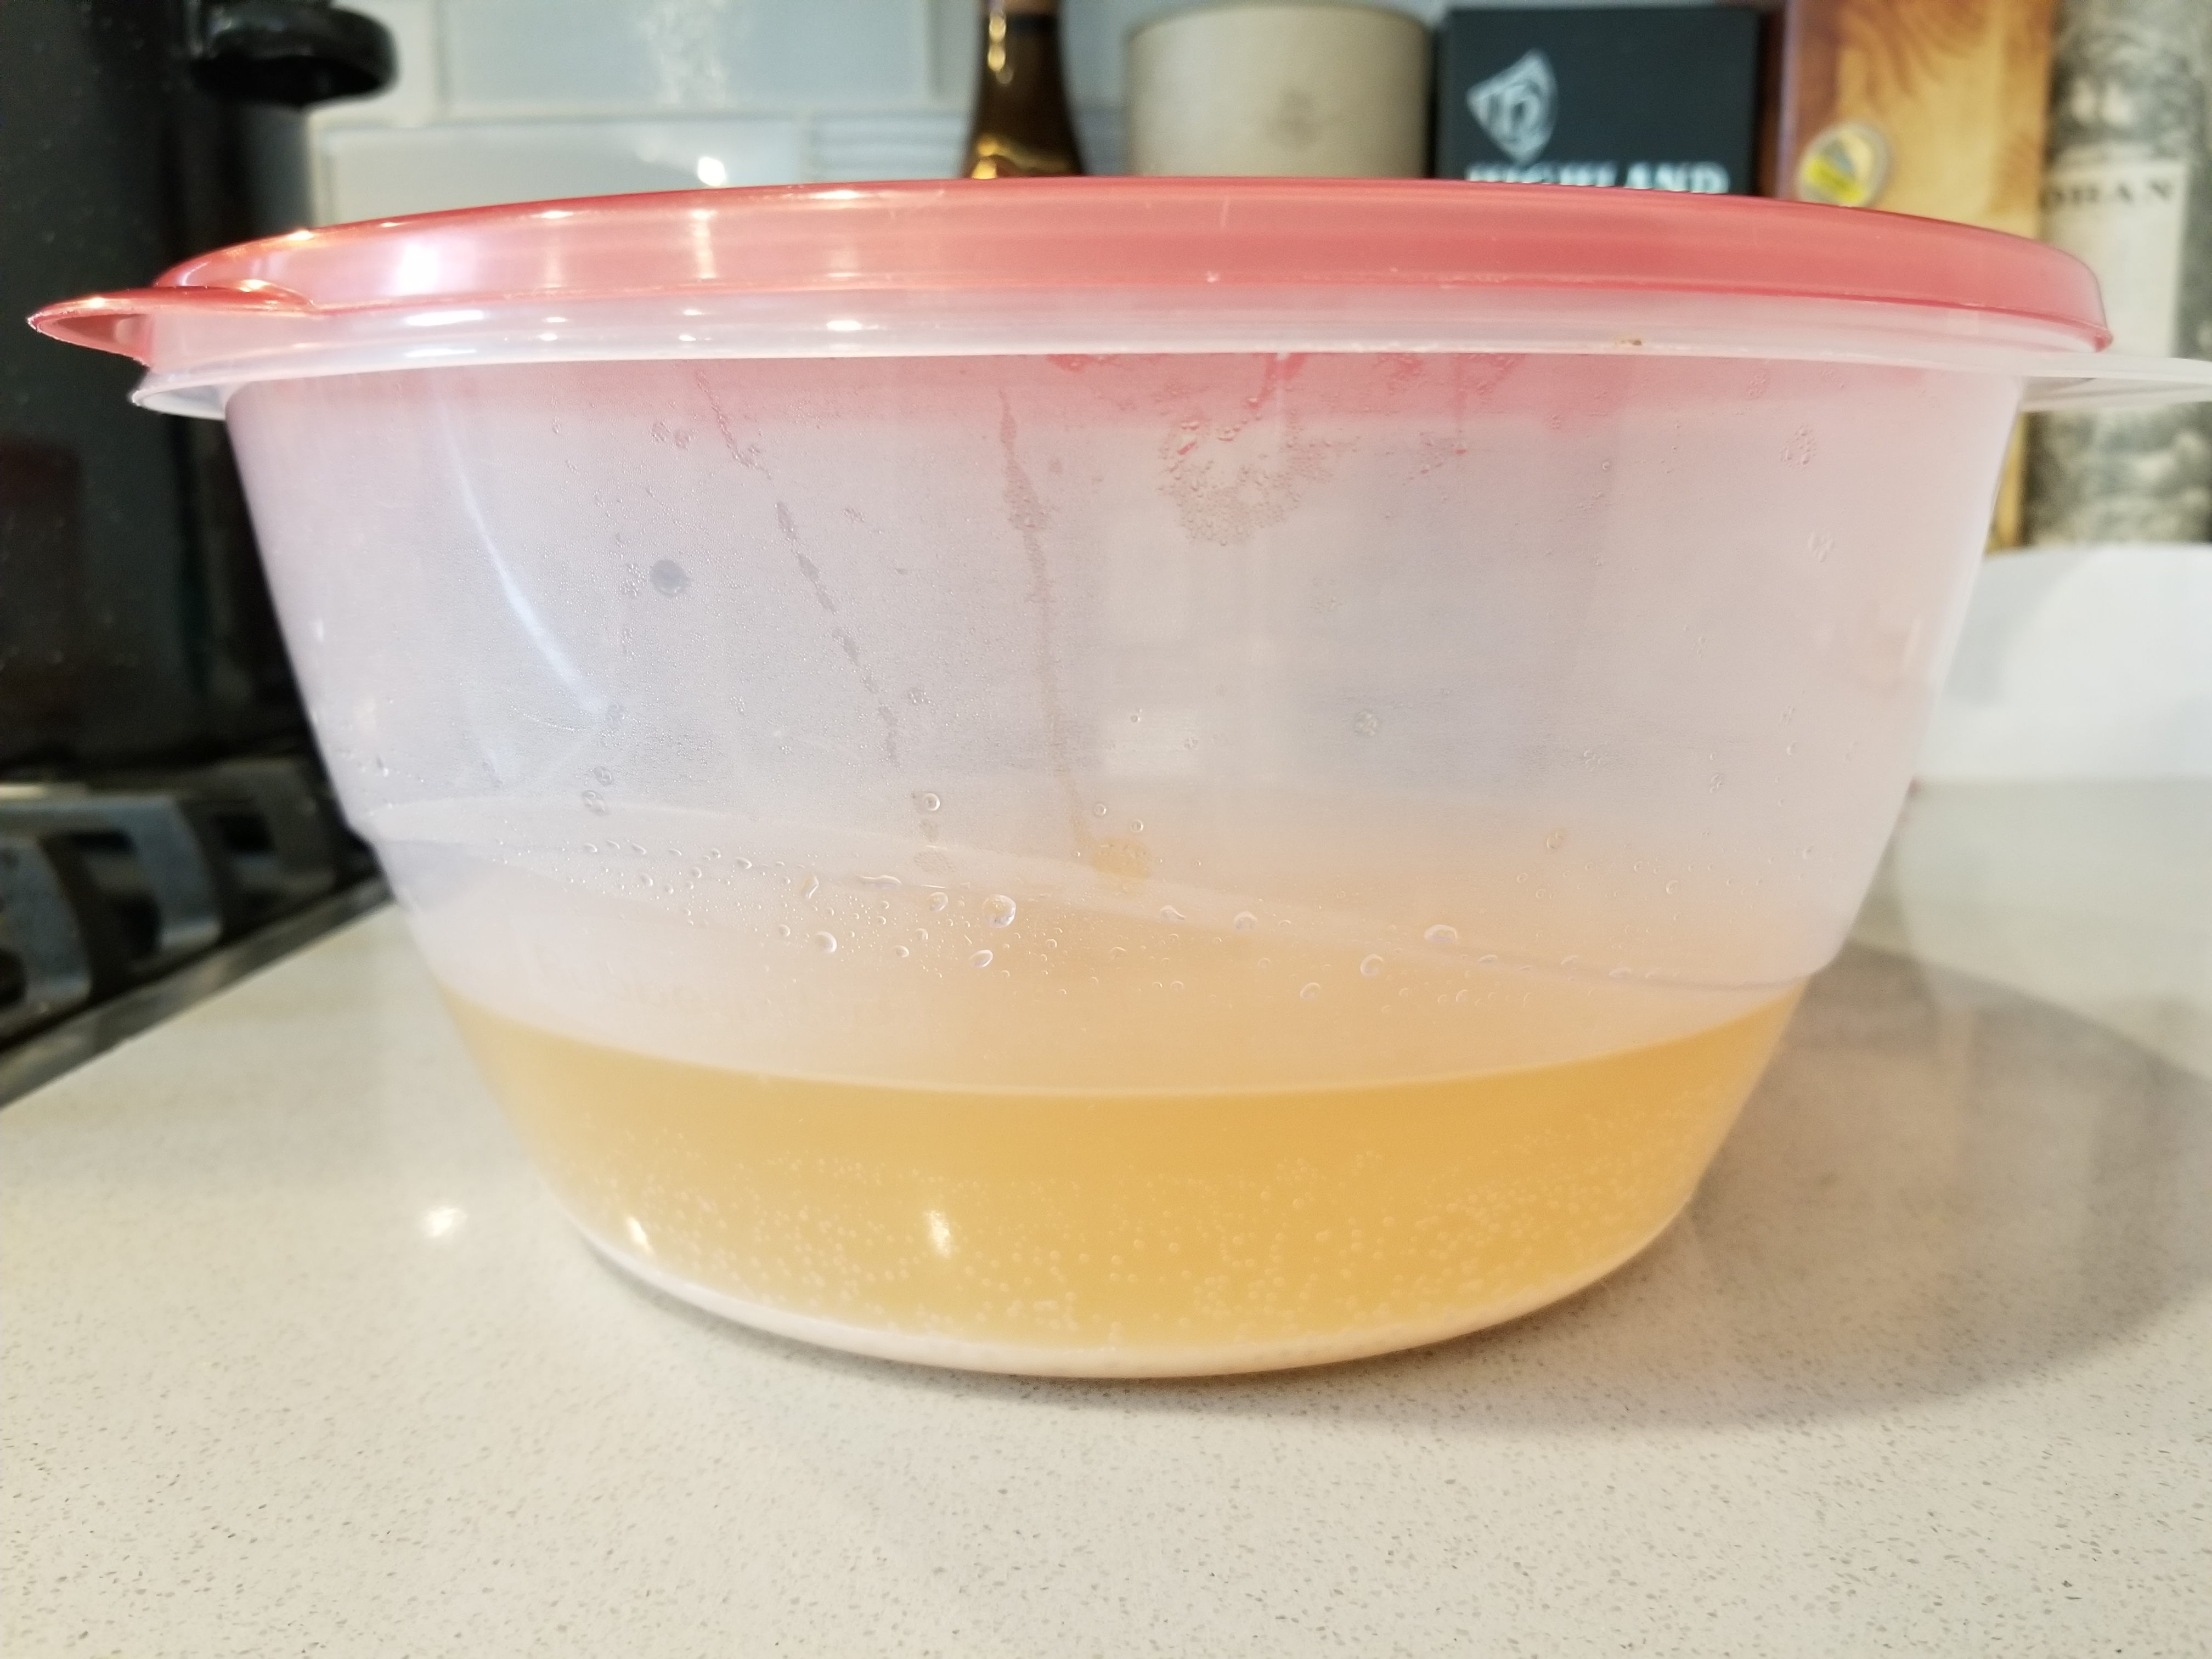
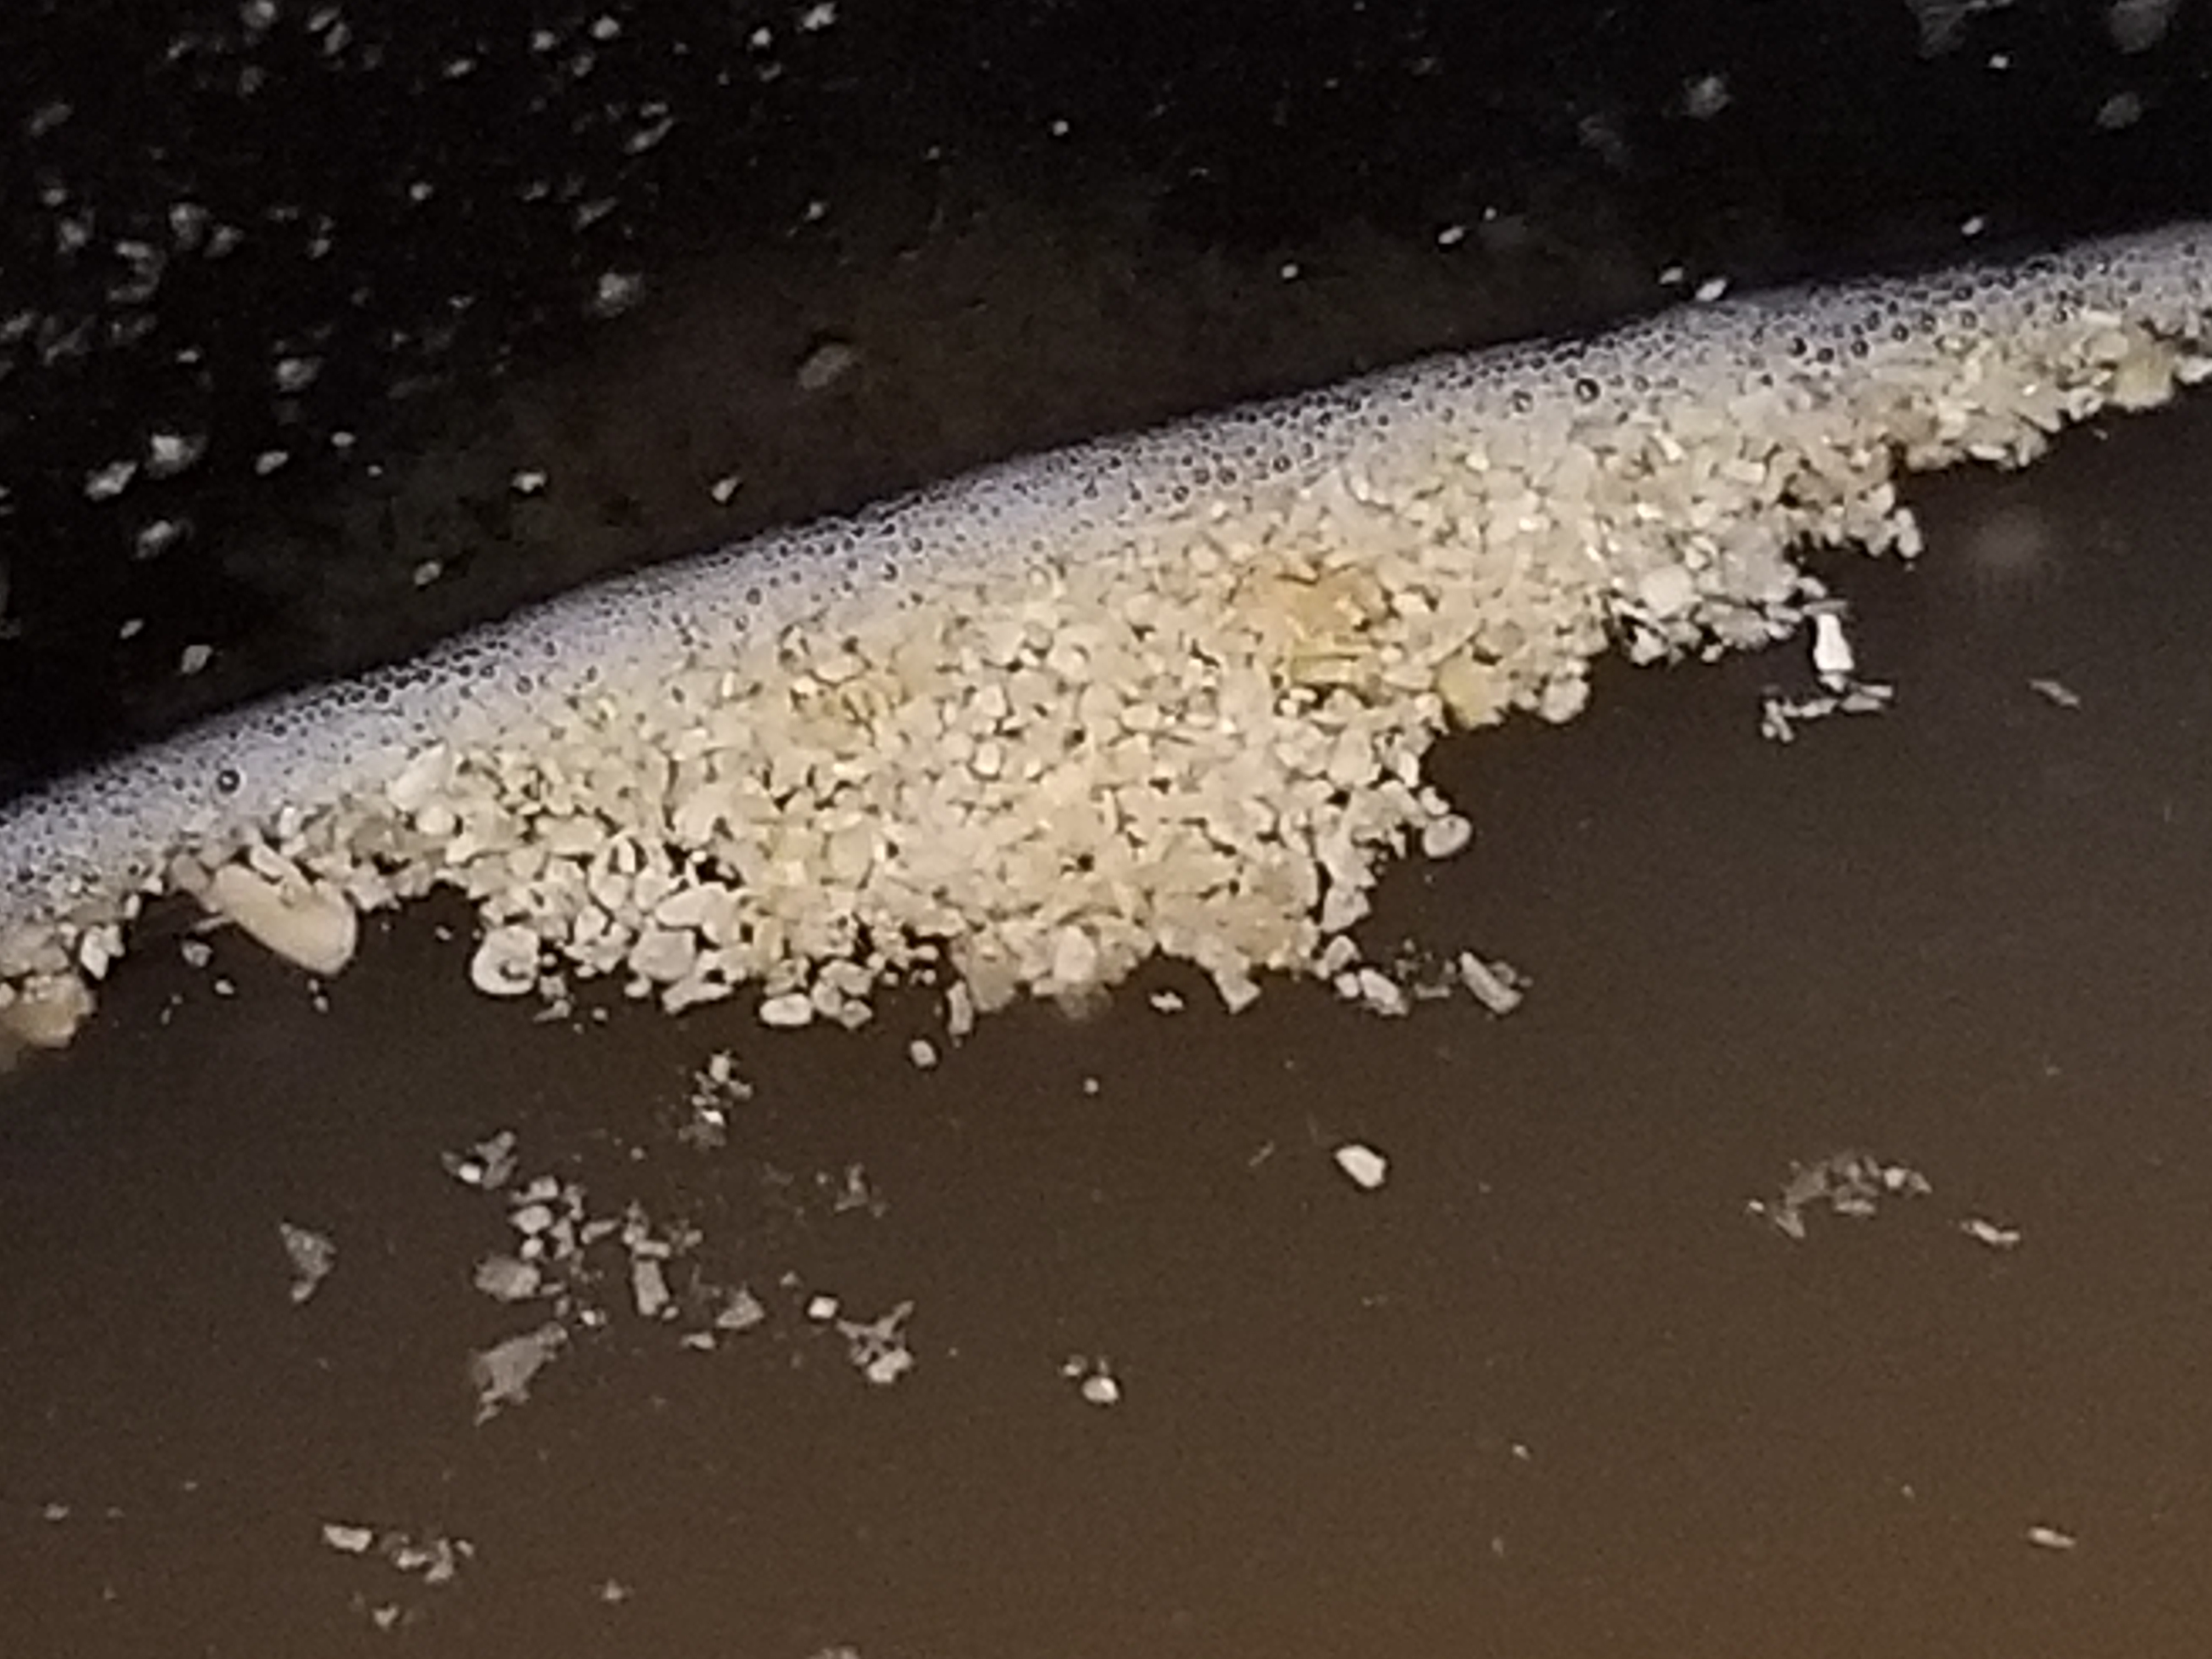
There appeared to be some sediment that settled to the bottom of the Tupperware container, which I assumed to be particles in suspension of leftover Emmer flour. Leaving the beer undisturbed for two full days allowed this settling to occur and revealed the beer’s pleasing faint yellow colour. I didn’t want to disturb the sediment layer on the bottom of the container so I instead opted for a small measuring cup and gently skimmed the beer little by little into a waiting old-fashioned pop-top bottle, thereby satisfying a visceral need for the aesthetically pleasing.
Judging by how little liquid was lost in the initial boiling process, in combination with the shortened fermentation time, I do not believe that I produced a very strong beer. Instead ,I have likely created some form of hybrid between fermented beverage and tea. The beer tasted very crisp and left no flavour or aftertaste on the palate. I might be able to liken it to a fresh apple cider, only slightly sweet from the honey. Its light colour is visually pleasing, and it lacks bitterness as I find often beer is too bitter for me to properly enjoy. My lasting impression is that I would try this again, only in the future I would observe all the modern brewing techniques so that I wouldn’t be constantly worried about getting sick.
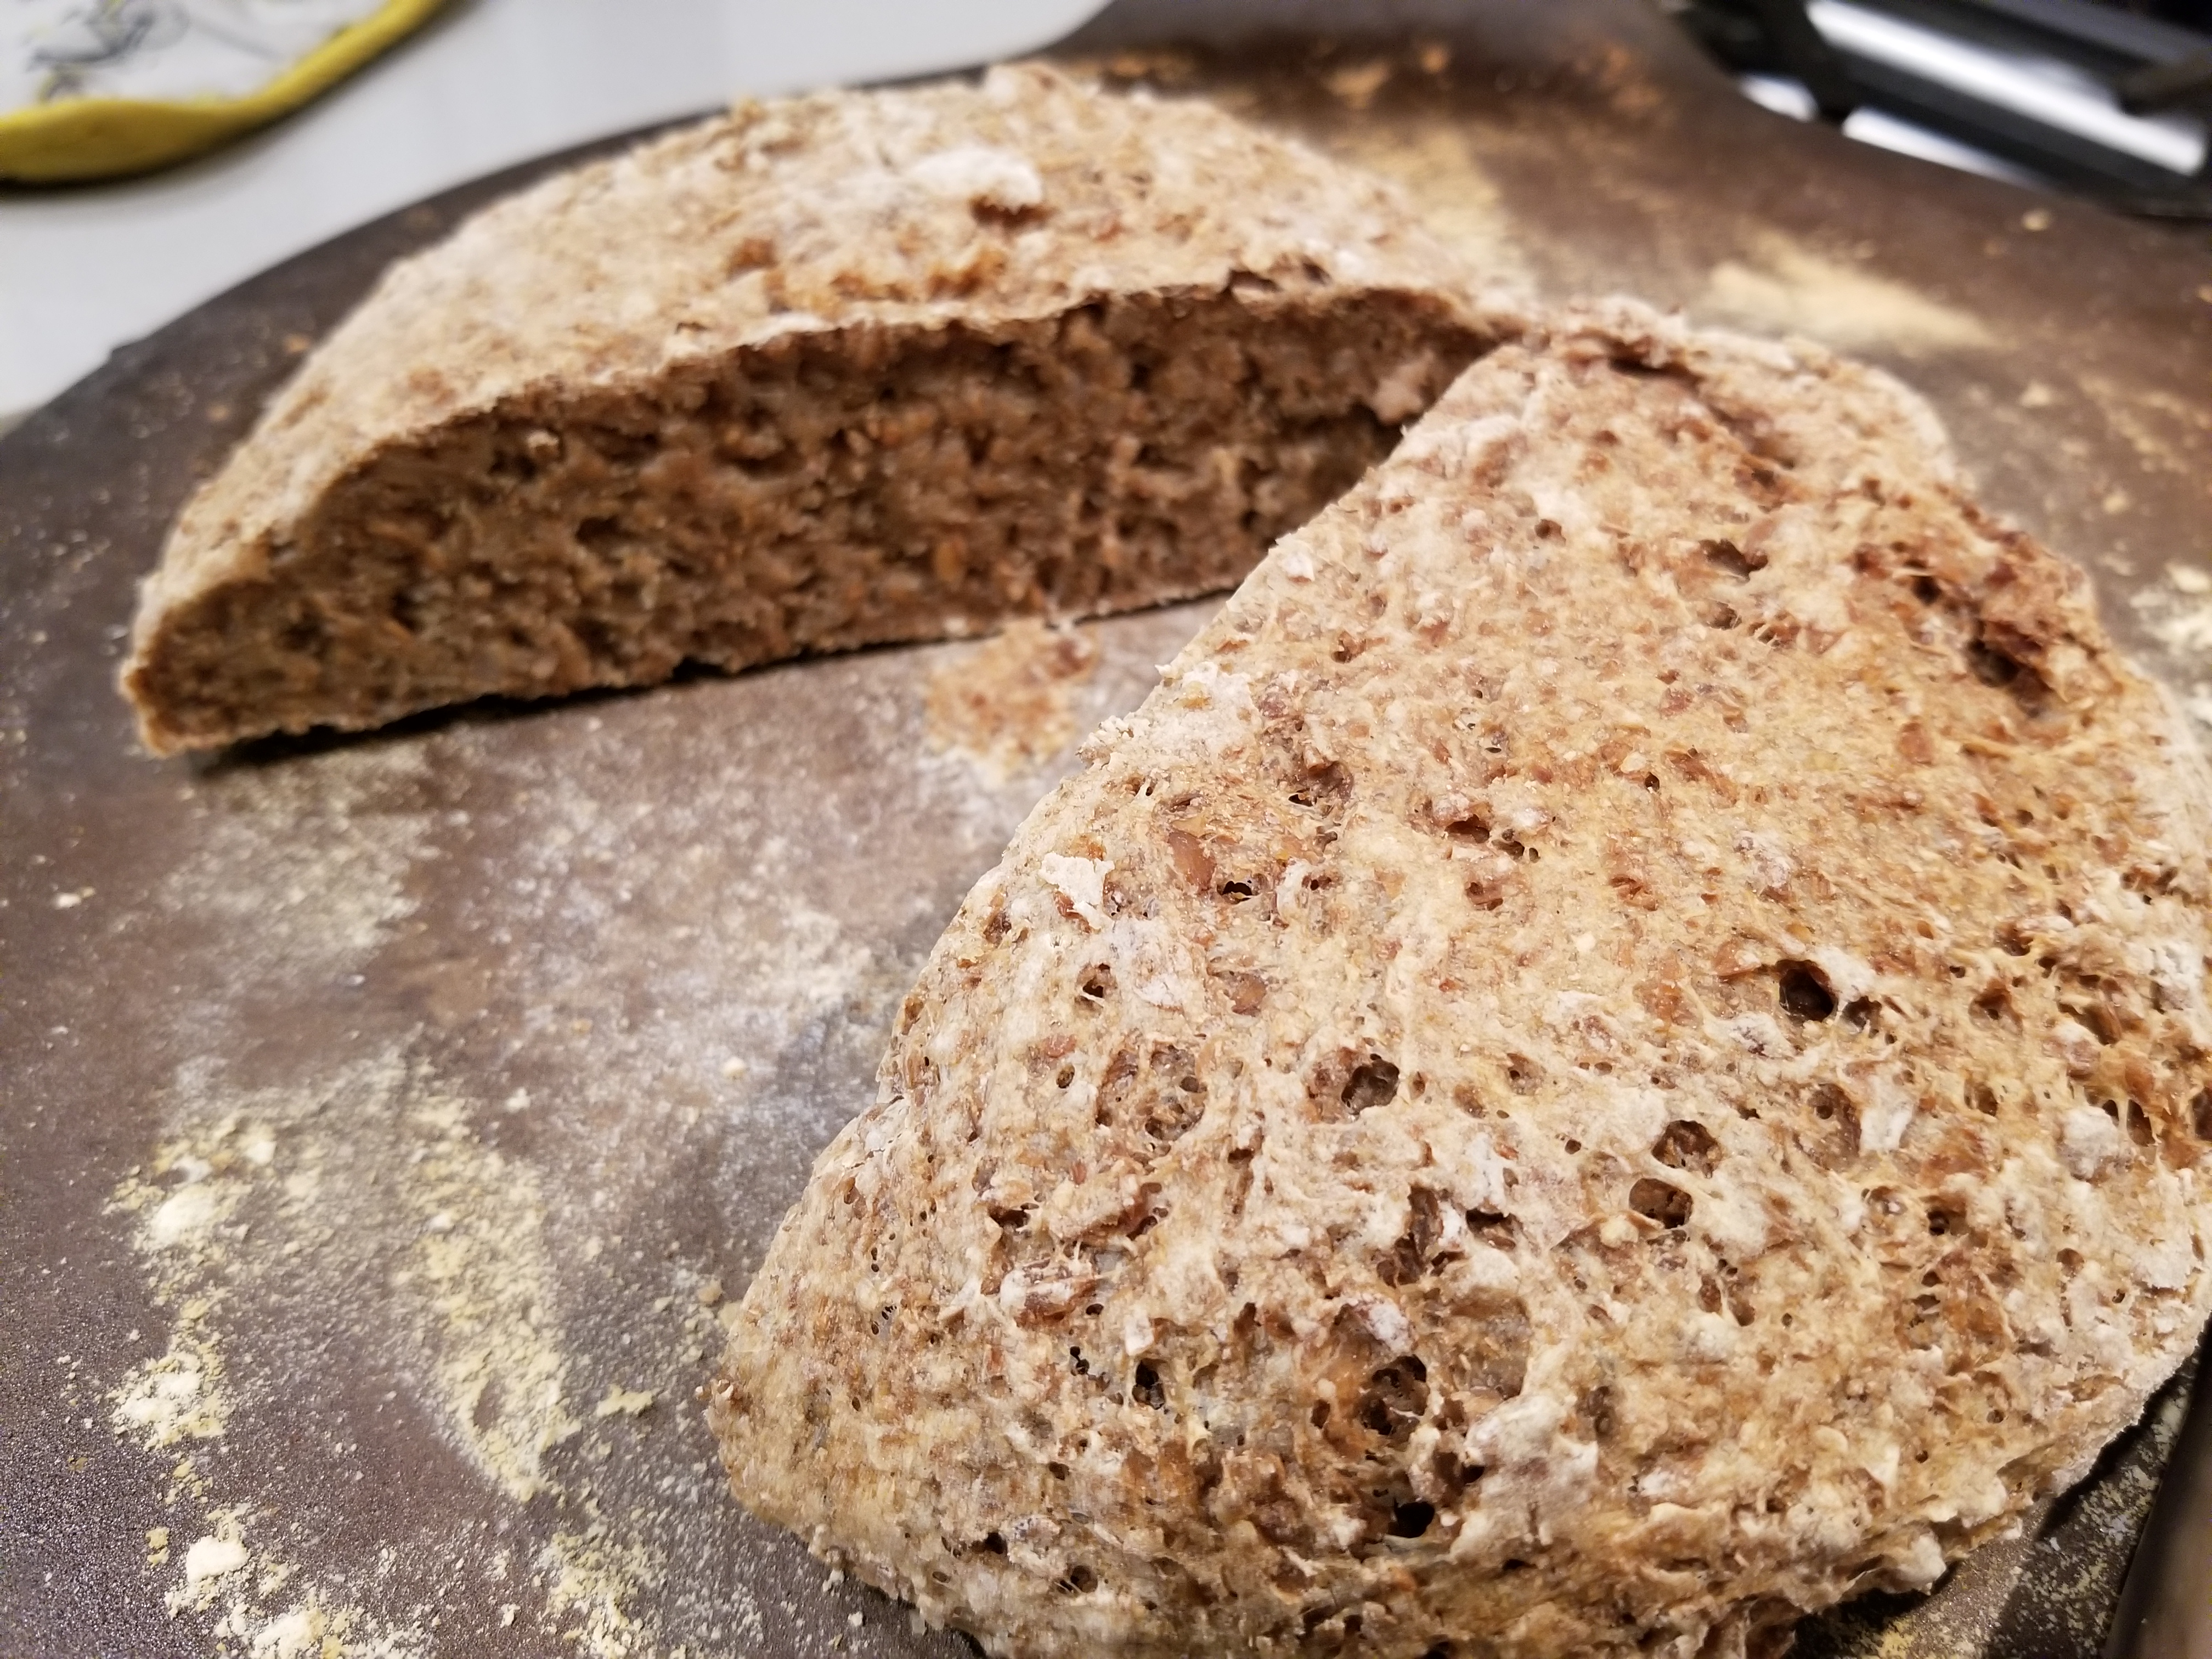
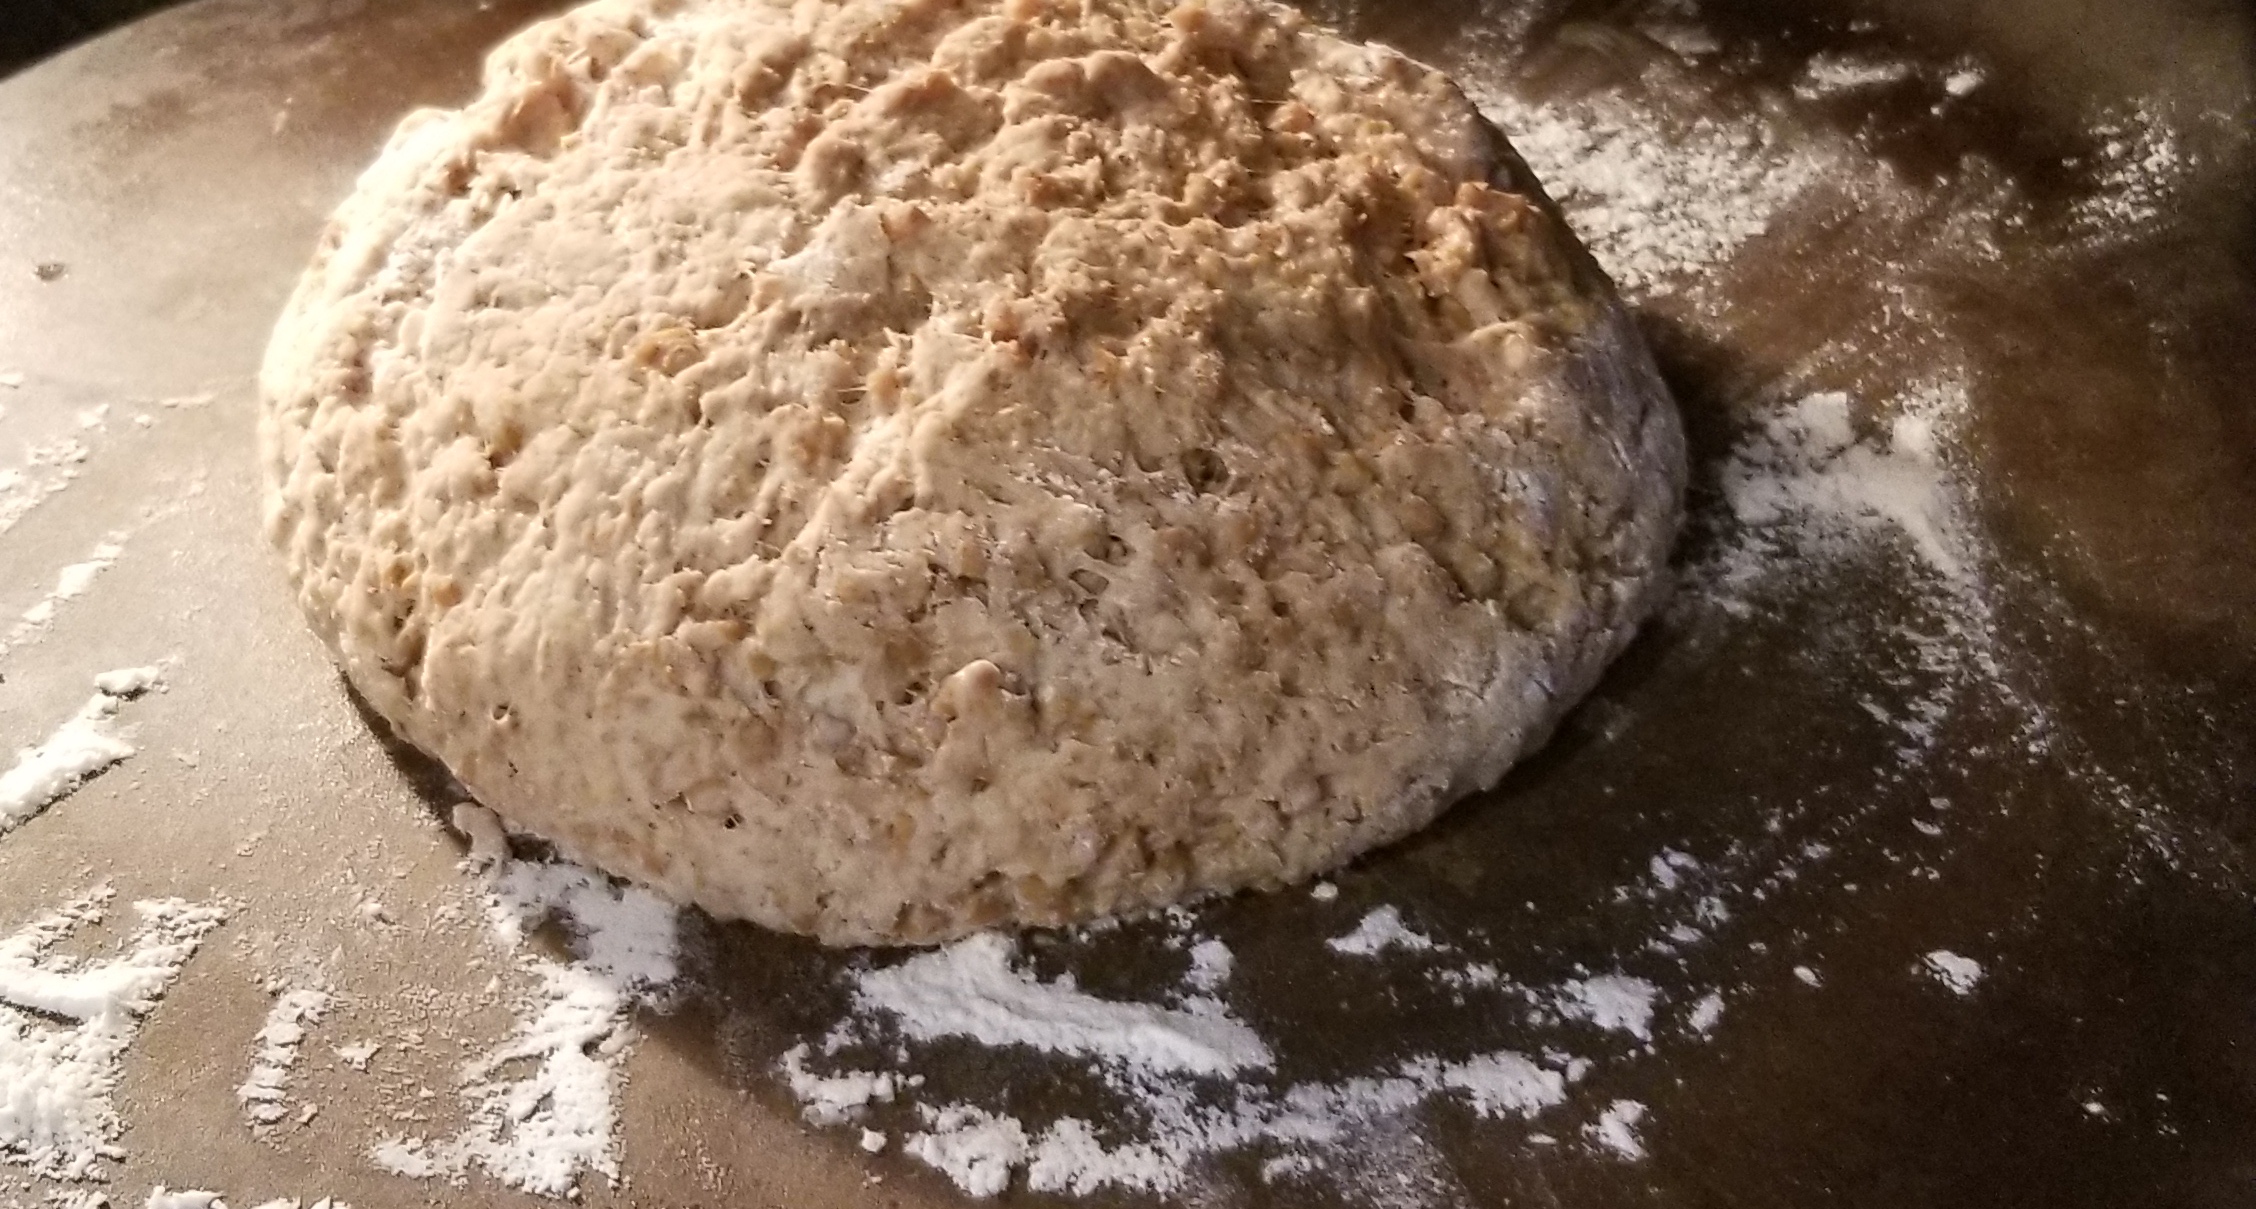
I ALSO MADE BREAD
I used the cooked grains from the grain sock, and drained off the excess liquid. I then spread the cooked grains out flat on a tray so that they could cool. From there, I added ~2 Cups of whole wheat flour and one cup of all-purpose white flour, one tablespoon of granulated sugar, and 2 teaspoons of dry active baker’s yeast. I left the loaf to rise in close proximity to the heat of my oven for about 6 hours. I knew that the rising time would need to be doubled than when I normally make bread since this had still so much moisture in it. Eventually it did have enough loft in it that I could manipulate it onto a pizza stone. I shaped a round loaf and cooked it at ~415°F for approximately 30 minutes. The flavour was surprisingly pleasant and reminiscent of oatmeal, and the crumb had a soft texture which was likely the result of using cooked grains as opposed to mixing them in dry, adding liquid, and allowing for a longer proofing time.
Bread Soup
Not too many new recipes floating around in the ol’ noggin lately since the pandemic is basically slowed down the recreational recipe time I discovered I had. Zoey and I are sharing an oldie, but a delicious goodie of a recipe! for your viewing pleasure. Enjoy!
Cheese The Day
Of all the crazy pandemic activities, fads, DIY projects, I can easily 100% hands down say with the most certainty that GIFT WARS was the best decision and really keeps on giving.
For those that don’t know about Gift Wars, my cousin Angie from Ontario (CAFO for short) and I have been exchanged in a gift giving war since around the beginning of all the pandemic nonsense. Most recently, I received a wonderful package which included PIZZA THEMED GIFTS.


Making this cheese from the kit was not too difficult. And the quantity of the ingredients within the kit were enough that I will be making my own cheese for a very long time.
And now for your viewing enjoyment, my latest masterpiece.
Thanks Ang for a great gift!!
Thursday Night: Menu à la Kees
When it comes to big meals, no one is as enthusiastic as my little boy. So I’ve given him a creative writing projet that aligns with my own selfish need to publish a very long overdue blog post. Behold Kees’ menu in all its seven year old glory!
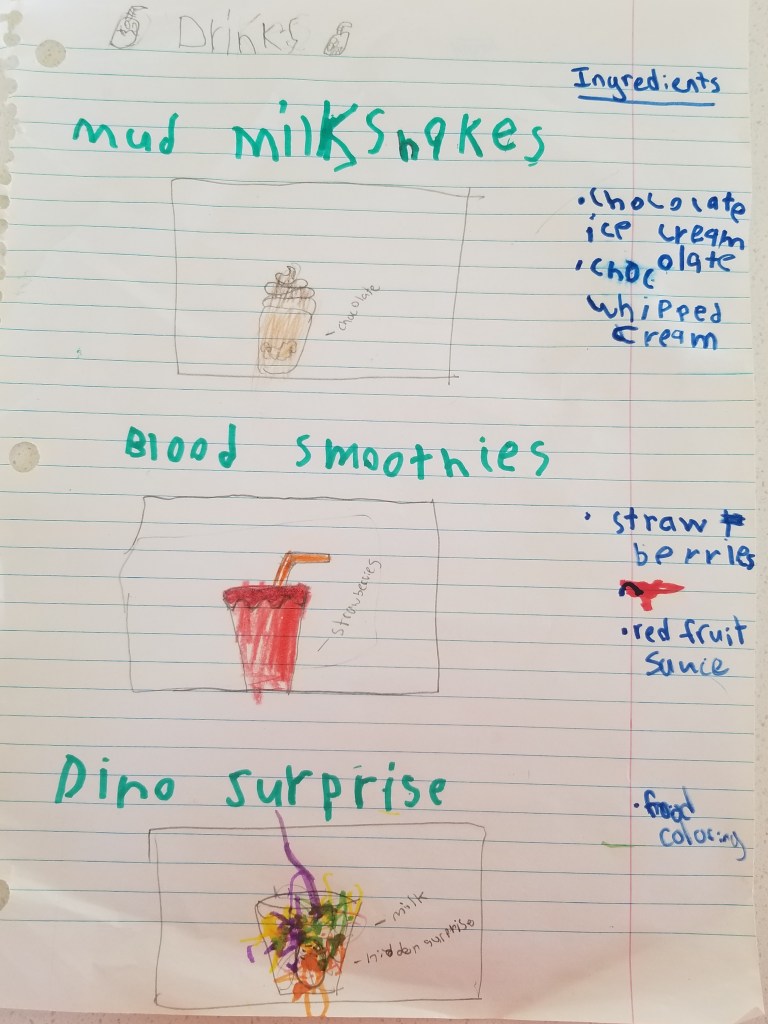

Needless to say I’ve resolved to make every item on this fantastically descriptive menu.
Tonight, Zoey and I took a crack at the Big Burger and the Mud Milkshakes. I can only hope that I appropriately channel my inner seven year old with this culinary challenge.

The milkshakes consisted of chocolate and vanilla ice creams, ice, Fudgeeos and whipped cream. In the pic below, you can clearly see our happy customer.

Next up, the Big Burger. While it would be difficult to give such small hands such a BIG burger to eat, I instead opted to make a very large slider instead. And even that was too big for little stinker to eat (albeit tasty!)

He was quite pleased with his Big Burger, even though it ended up being too big. Toppings include the homemade burger patty, ketchup, old cheddar, lettuce, cucumber, honeyed bacon, more ketchup and more cheese…and the quintessential tiny flag of course… Now it’s time to sleep off that burger!
Pizza Meats: Ranked

Have you ever wanted to add some extra flare to your pizza pie, but were unsure of where to begin? The pizza market has become so completely saturated with possible flavour combinations that it makes it seemingly impossible to decide sometimes. Well, worry no more because I have ranked my favourite pizza toppings and ingredients so that you don’t have to!
Here’s my full disclosure/disclaimer before we get into the list. These are my TOP ingredients, so they are indulgent, sometimes difficult to obtain, ingredients with a pricetag that is commensurate with their niche-ness.
I’ve broken each up into categories to make it easier for me to judge them. Today we will be covering meat!
# 5: Dry Cured Pepperoni
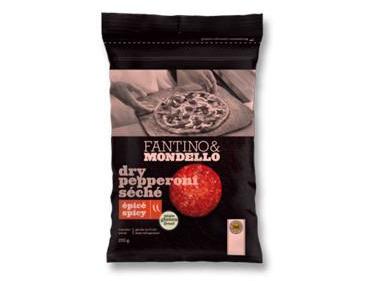
Nothing says quintessential pizza topping like pepperoni. I will propose, however, that instead of the usual deli counter pepperoni, you opt for a dry cured variety which lends itself to the broil setting of ovens quite nicely. What you are left with is a crispy pepperoni chip, which adds flavour and a textural element to your pizza.
I recommend the Fantino & Mondello brand as they are available in mostly all big grocery stores and are not that much more expensive than regular deli-sliced pepperoni.
# 4: Coppa di Parma
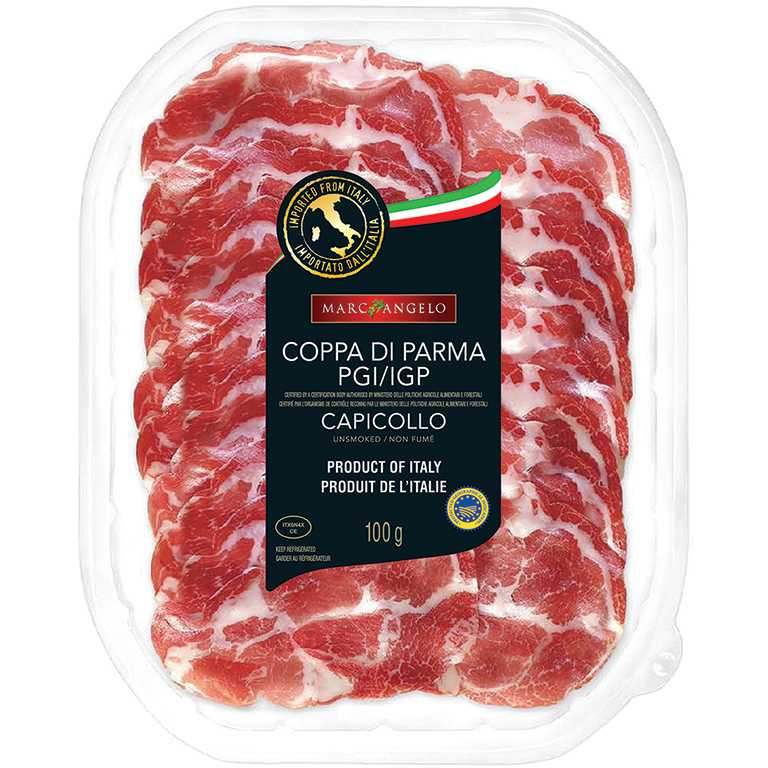
This Italian salami from the Parma region differs from other cured meats in that it traditionally uses neck and shoulder meat and fat in its production. It is characterized by large portions of white fat and dark red muscle.
When used as a pizza topping, its texture becomes softer and it adds a deep savoury flavour reminiscent of red wine and pepper notes.
# 3: Chorizo
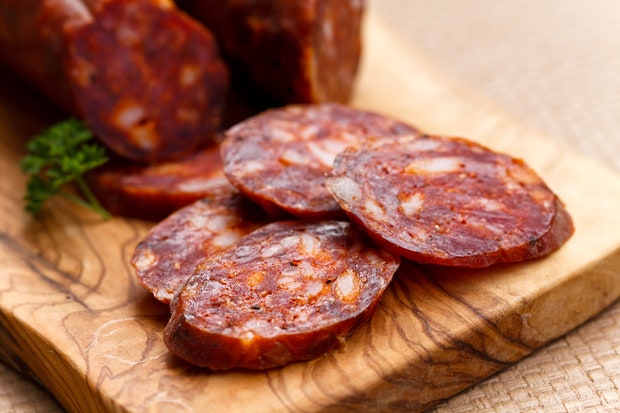
Traditional Spanish chorizo sausage gets both its colour and its spiciness from oodles of paprika in its mixture. Trust me on this: there is so much paprika in these recipes that it would shock you. There are mild versions as well as hot, so there is a chorizo for everyone in your family.
Chorizo can come in a variety of preparations, including raw or fresh mixtures, dry cures (as in a salami), and smoked. Depending on what you buy will dictate how you treat the chorizo before adding it to your pizza.
# 2: Proscuitto

One ham to rule them all! This Italian staple is made from the hind leg of either pig or wild boar, and dry ages for anywhere between 9 months and two years. On its own it is usually served thinly sliced and uncooked (AKA crudo), but can also be easily incorporated into your pizza either pre or post cooking as a wonderful addition. If being cooked on the pizza, the proscuitto will crisp up but will not curl, as you would have with a bacon slice. If you are using the proscuitto on the pizza after the cooking is done, I recommend drizzling with olive oil to recreate the traditional crudo serving method.
THIS IS IT…# 1! And it’s unpronouncable!
NDUJA

Underline it. Bold it. Remember it. This is the ultimate indulgence. If you are ever shopping and you see this – buy the whole shelf. If you can’t for any number of reasons, tell me where to go so I can buy it.
Until I had this for the first time 4 or 5 years ago, if you came up to me and said ‘Hey Shantelle, try some of this pork paste’ I would laugh at you until I threw up. But trust me when I say this is the stuff of the gods. I will bet my entire reputation as a foodie on it. It’s spicy like chorizo, but spreadable, which makes it super versatile. You can put it into a pasta sauce, or simply use it as a topping on some nice italian bread. But for a pizza?? I would just dollup it on top of each slice after it comes fresh out of the oven.
Stay tuned for the next favourites list, which will either be vegetables or sauces….whichever I get to first…
Zoey has taken over :/
I’ve lost my kitchen sanctity to a tweenager. Don’t bother sending help – it’s too late for me. Instead, save yourselves. Don’t teach your children to talk. Life was so much more peaceful before children spoke…

VLOG # 3 – Kouign Amann
Well I don’t know about anyone else, but I had an absolute blast making both this dessert and this video.
I can’t really explain it so you’re just going to have to watch and enjoy!
For the recipe, I used Paul Hollywood’s version, which I got off the BBC website. I think his measurements were precisely what they should have been; this is an area that I find needs a LOT of adjusting when interpreting new/untried recipes. The only thing I added was a caramel that I made from scratch, which I dolluped onto the finished pastry.
Here is the link to the recipe. I recommend trying it out with a friend: https://www.bbc.co.uk/food/recipes/kouign_amann_09102
Let me know in the comments if you decide to try these!
The Chef’s Weekly Update
It’s been FOREVER since I made a post on here…what I can’t explain is my idleness for not updating my dozen of fans… Guess the pandemic and being home has finally gotten the better of me and perhaps I am running out of momentum. It’s also equally likely that I am lazy.
Well anyways, here is a summary of what has been going on at Casa Barchuart (Burns – March – Stuart).
MEATBALL MADNESS
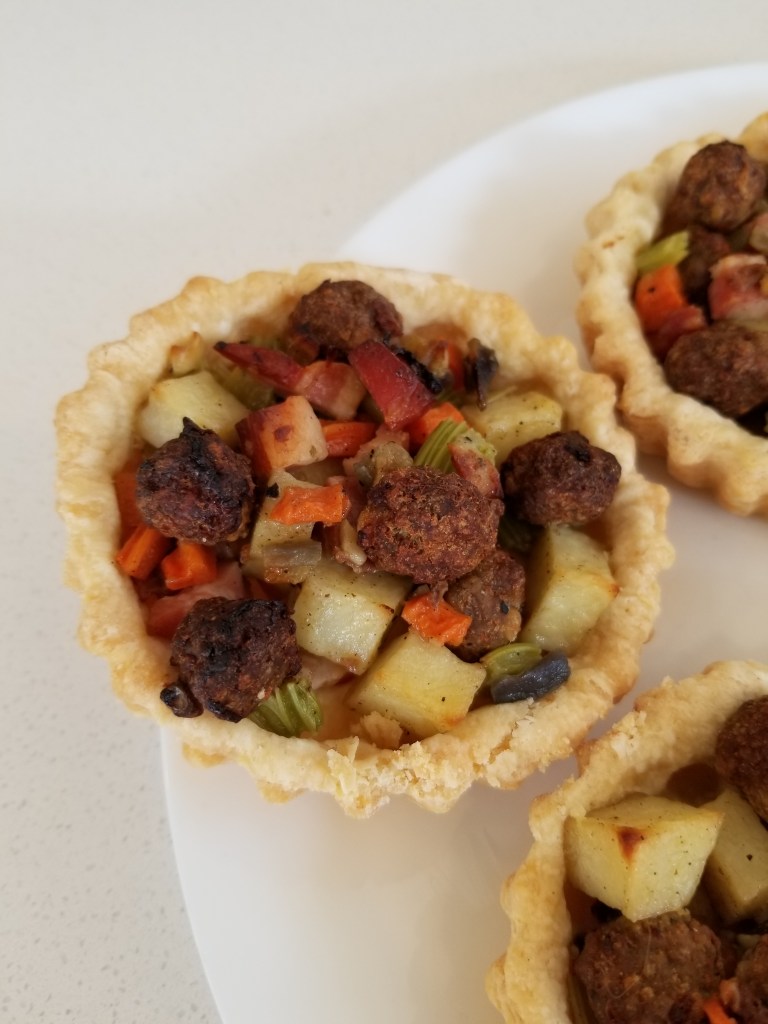
Here I am trying my hand at making small things: small meatballs, small tartlets. I know this picture is deceiving because it’s such a close up. Take a look at the pic below to get a better idea of the scale.

I’ll try to do my best to recall the individual ingredients (besides the pie crust): pancetta, celery, red onions, carrots, potatoes, mini meatballs, and a light beef gravy/stock. Overall not a bad little appetizer prelude to the main course:
MAMA MIA MEATBALL PIZZA

Buckle up food fans because if you are in the market for a blast of meat, this is definitely a heavy hitter. Instead of the usual herb and tomato sauce, we’ve got a spicy marinara. HUGE meatballs and three types of salami are punctuated with fresh mozzarella and tomato. Top it all off with chili flakes and olive oil to amp up the pepper flavour. Literally one of my new favourite pizza combos.
Let’s see what else has been happening…
GALAXY QUEST
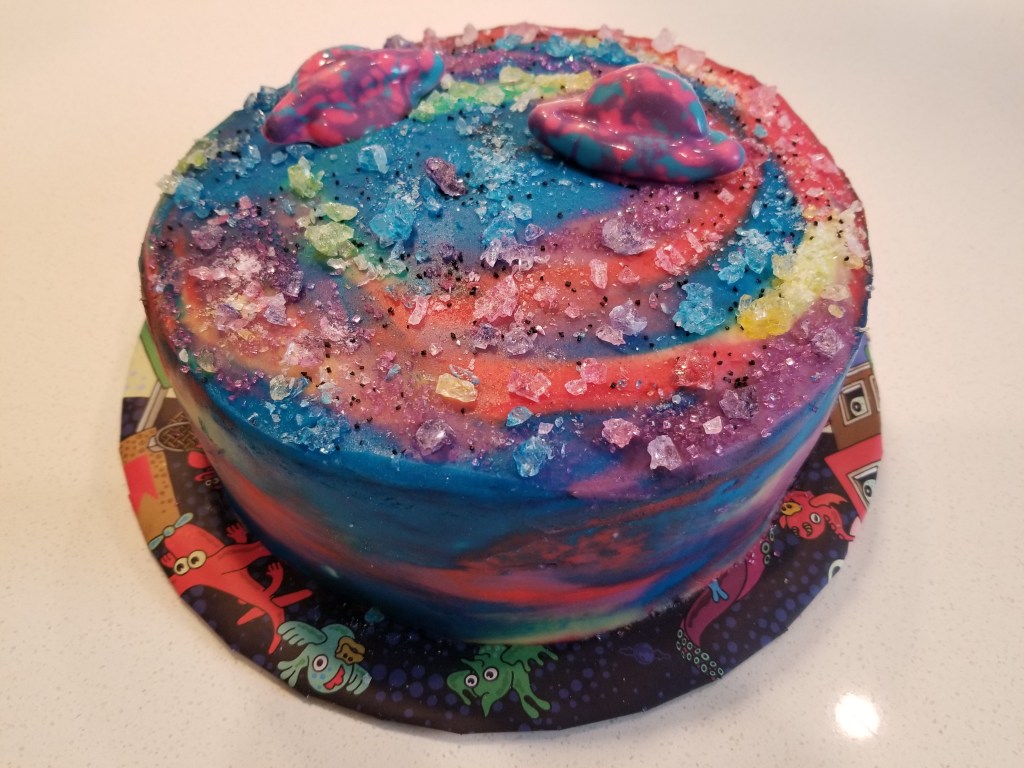
I made a fun-filled tie-dyed spiral galaxy, complete with coloured space debris. But wait! There’s more!
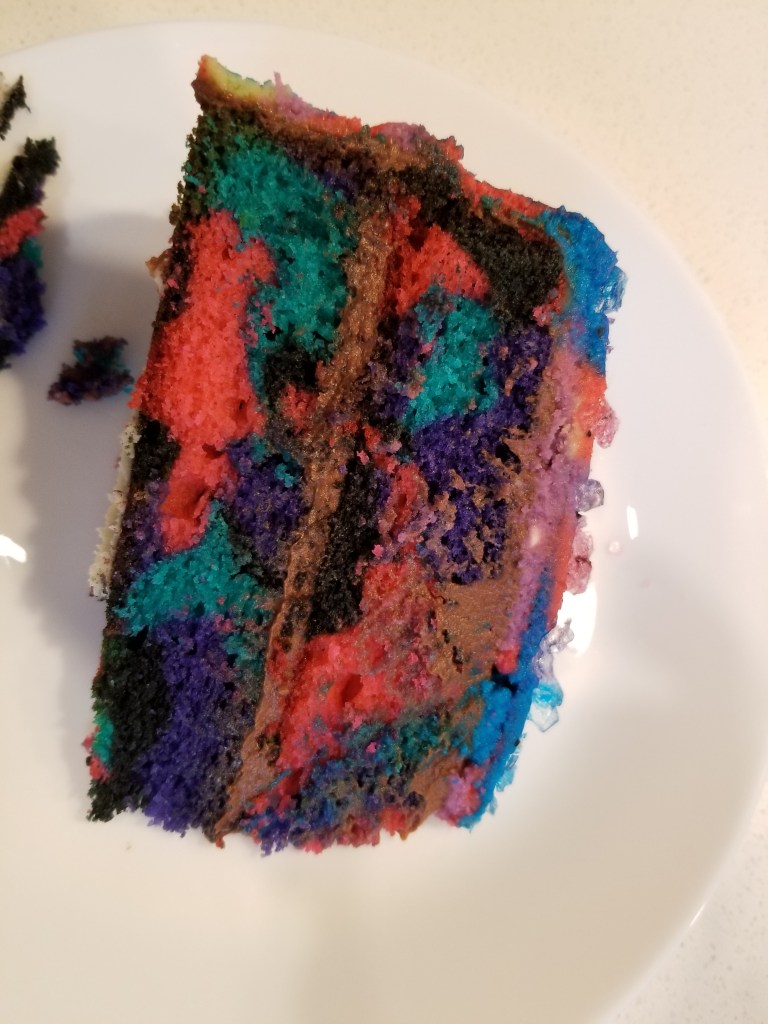
Yeah the inside is crazy coloured also. This cake was really fun to make…something about bright colours really cheers up a rainy Nova Scotia day.

A FRUIT BASKET?
I’ve wanted to make a decorative bread centrepiece for a very long time, so I decided now is the time since we are all sitting ducks.
I enlisted Zoey’s help to mix the dough, while Jason and I were outside cutting wood for shelves that we are building. Then I ditched Jason and rejoined Zoey in the kitchen to develop and execute our plan.
Here it is before it went in the oven. (I had to take a before shot just in case the bread rose in a weird direction in the oven, etc.)
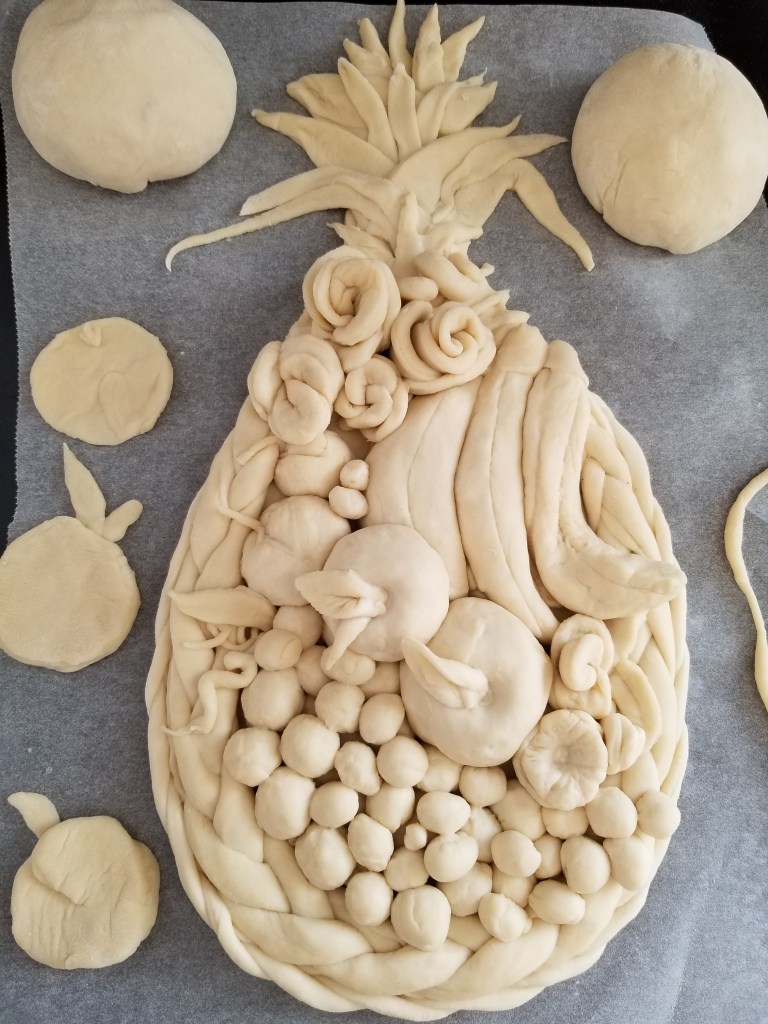
So hopefully my vision is coming across clear here: a pineapple-shaped ‘basket’ that is filled with fruit and flowers.
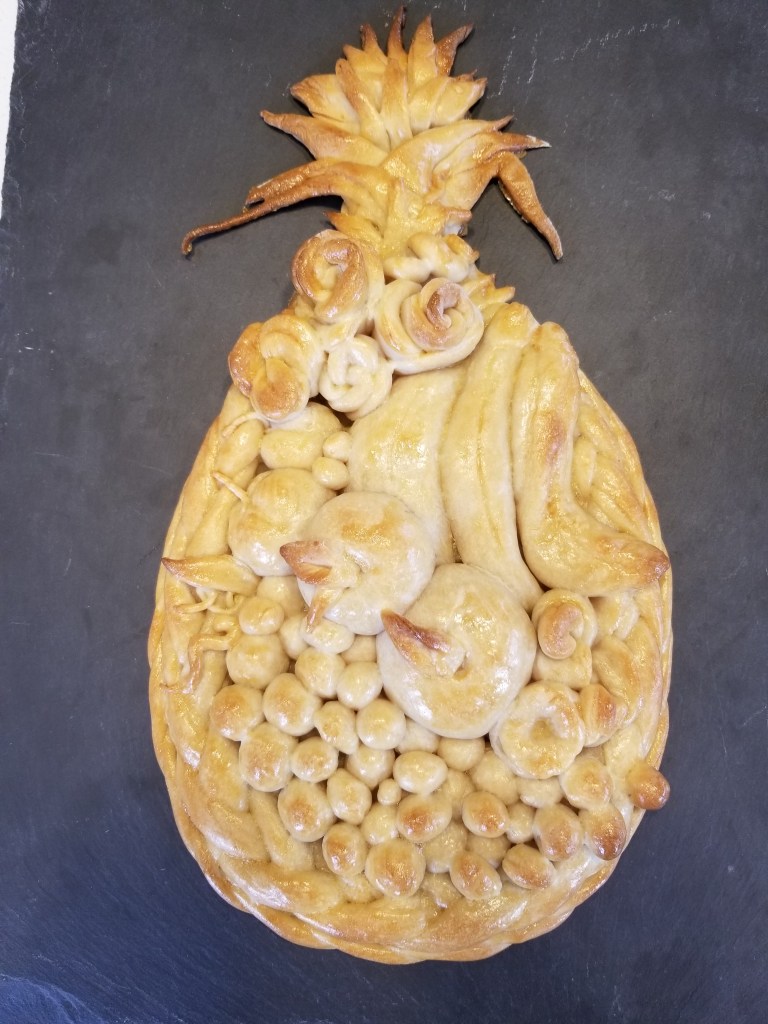
I think the shine of the egg wash reflecting on the camera lens is doing the fruit basket a disservice because it was really awesome looking. And this is something that I will definitely be trying more of because it was really fun rolling and shaping bread dough like I was in Kindergarten.
Hit me up in the comments with some food questions, comments, and requests for recipes and tips!
